Log in via your Operator Account.
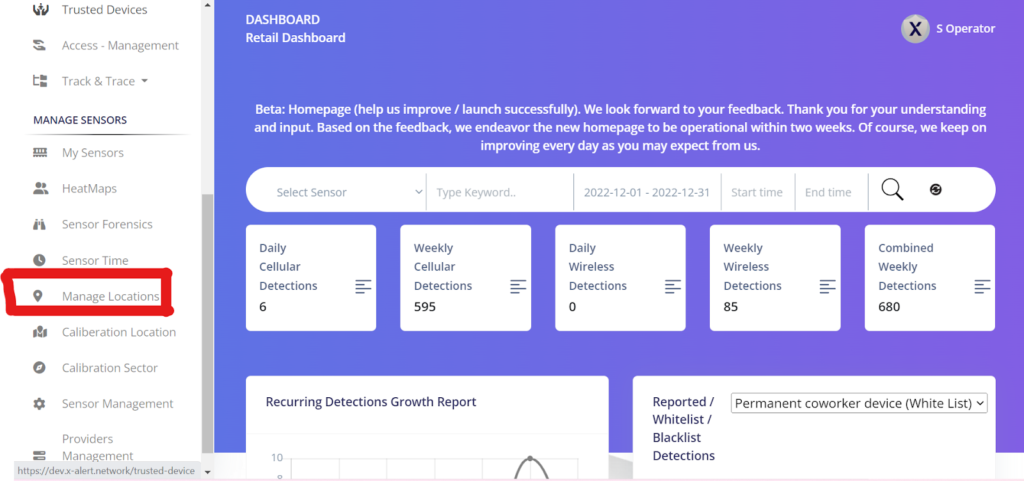
In the Side Menu, you will see a tab for “Manage Locations”. Click on it.
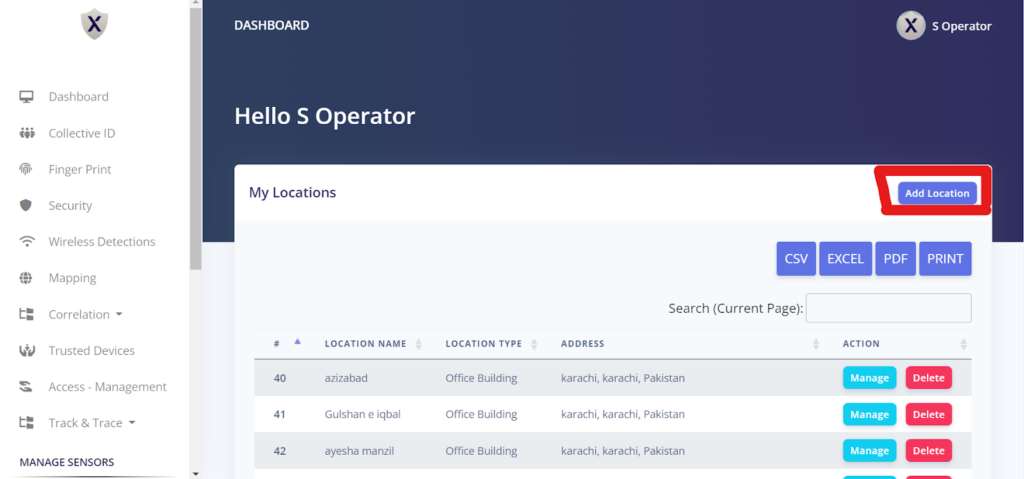
You will be redirected to a new page.
Click on the blue icon named “Add Location”.
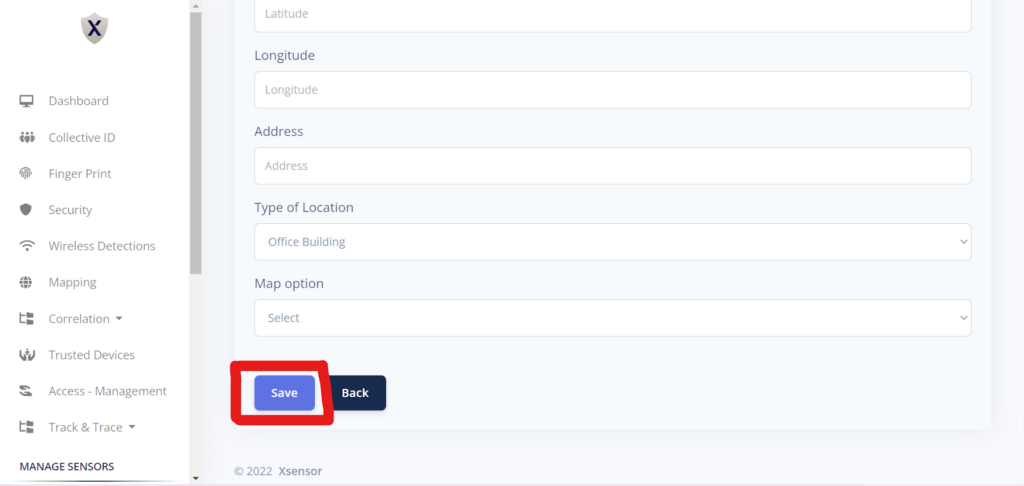
Add the following details:
- Location Name
- Event Name
- Country
- State
- City
- Street
- Zip Code
- Latitude
- Longitude
- Address
- Type of Location
- Map Option
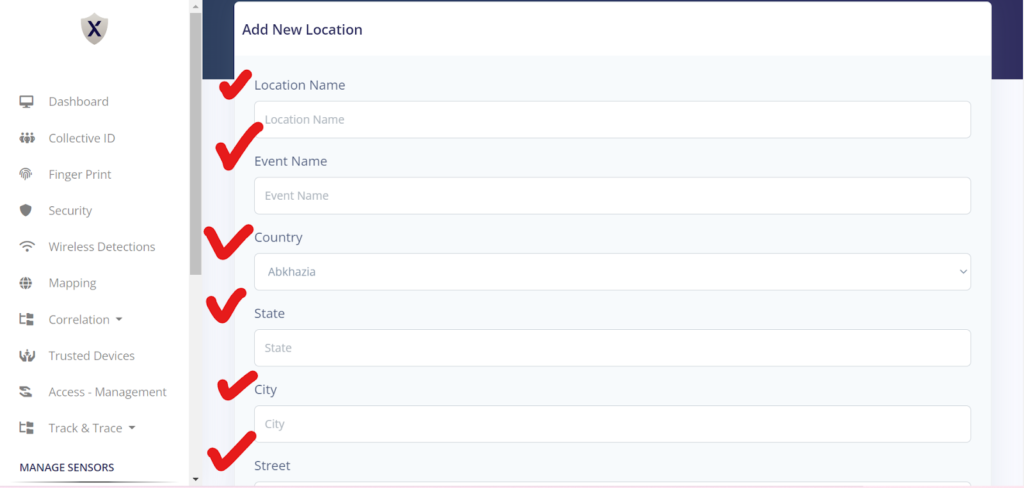
Click on the “Save” icon.
The New Location has been created.
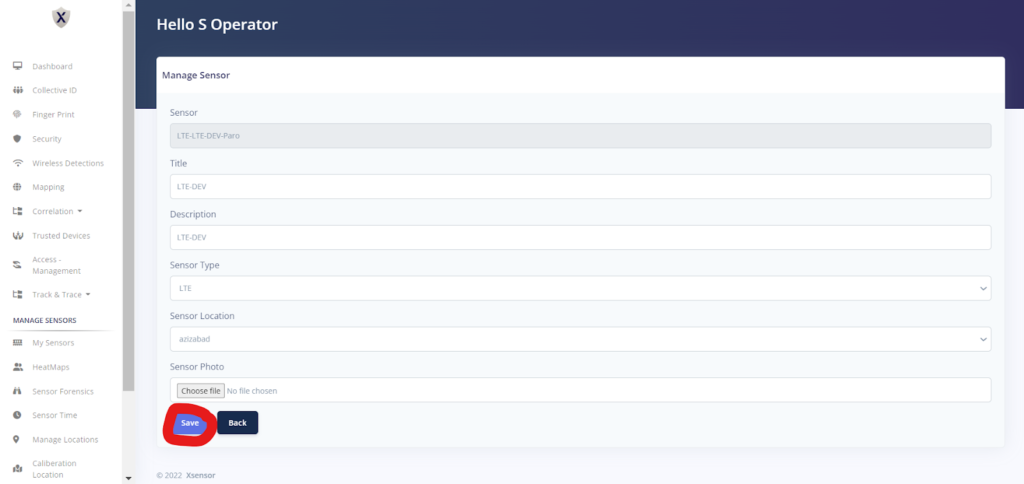
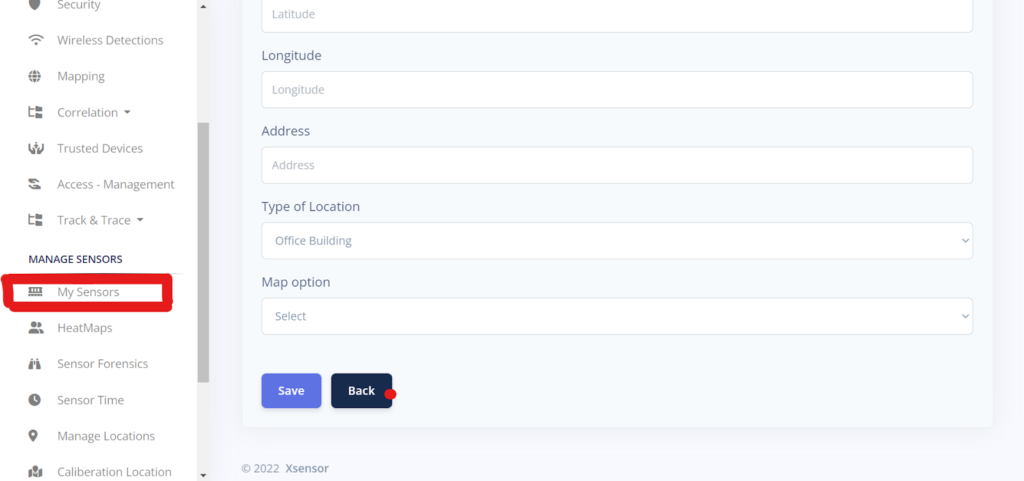
In order to assign a location to a sensor, go to “My Sensors” in the sidebar.
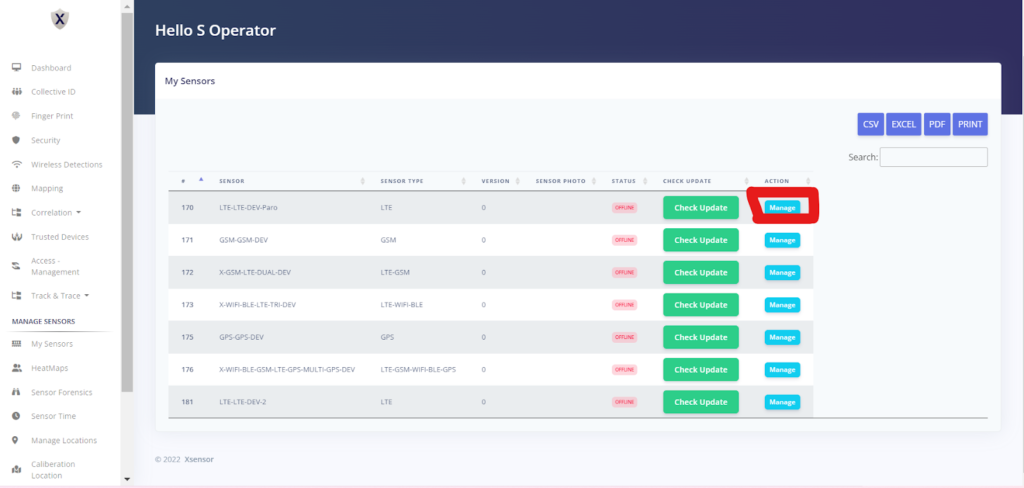
Go to the sensor whose location you want to change and click on the “Manage” icon in front of it.
Go to “Sensor Location” on the form and add your location there.
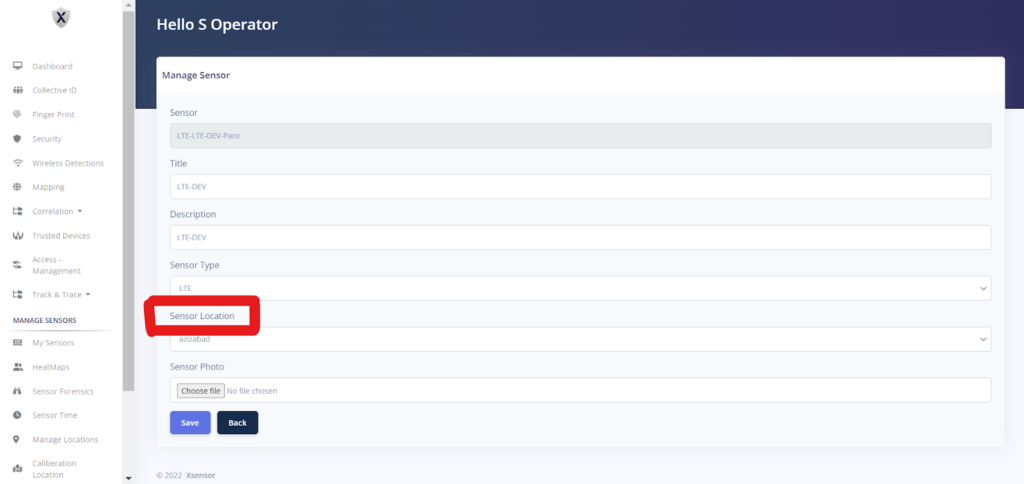
Click on “Save”.
The location has been assigned to the sensor.